| Hole | 1 | 2 | 3 | 4 | 5 | 6 | 7 | 8 | 9 | Out | 10 | 11 | 12 | 13 | 14 | 15 | 16 | 17 | 18 | In | Total |
|---|---|---|---|---|---|---|---|---|---|---|---|---|---|---|---|---|---|---|---|---|---|
| Black | 375 | 446 | 384 | 229 | 521 | 396 | 149 | 505 | 466 | 3374 | 428 | 489 | 408 | 238 | 354 | 416 | 223 | 449 | 591 | 3596 | 6792 |
| Blue | 360 | 428 | 369 | 200 | 501 | 387 | 125 | 490 | 400 | 3271 | 346 | 470 | 400 | 158 | 330 | 386 | 190 | 419 | 537 | 3236 | 6539 |
| White | 338 | 375 | 315 | 167 | 484 | 380 | 115 | 485 | 348 | 2959 | 330 | 455 | 390 | 150 | 300 | 376 | 150 | 400 | 517 | 3068 | 5988 |
| Gold | 298 | 319 | 300 | 159 | 474 | 306 | 111 | 460 | 269 | 2455 | 303 | 374 | 353 | 135 | 280 | 320 | 138 | 350 | 440 | 2693 | 5096 |
| Orange | 257 | 315 | 250 | 150 | 464 | 301 | 109 | 402 | 265 | 2401 | 290 | 369 | 323 | 127 | 250 | 315 | 130 | 290 | 435 | 2529 | 4889 |
| Par | 4 | 4 | 4 | 3 | 5 | 4 | 3 | 5 | 4 | 36 | 4 | 5 | 4 | 3 | 4 | 4 | 3 | 4 | 5 | 36 | 72 |
| Handicap | 9 | 3 | 13 | 15 | 5 | 1 | 17 | 7 | 11 | 12 | 16 | 2 | 18 | 10 | 6 | 14 | 4 | 8 |
Hole 1
A good drive that carries the ravine, 180 yards, off the tee, will leave a mid to short iron to the large flat green. Aiming at the left hand portion of the bunker is a good strategy since it is out of the range for all but the longest hitters.
Hole 2
A large elevated fairway bunker on the right makes this a very honest hole. The second shot is up hill to an extremely deep green and ordinarily is one or two more clubs than it looks. Caution, hitting over the green makes par difficult.
Hole 3
This little par 4 is a wlecome relief after #1 and #2. Placing the tee shot right of center will provide the player with the best angle to finese a soft iron in for a chance at birdie.
Hole 4
The four large bunkers guarding this huge sloping kidney shaped green make it appear to be just a short distance. Don’t be deceived, you are usually playing into a stiff breeze. Depending on the pin and tee placement, this tee shot may vary several clubs from one round to the next. If you end up above the hole, you have an excellent chance to three putt.
Hole 5
Let it Fly!! A wide open driving hole, although the big hitter risks going through the fairway and must drive to the right. the second shot on this par 5 is blind and looks more difficult than it is. Though the fairway narrows considerably, it slopes down toward the green and tends to gather shots in the edges back back toward the center of the fairway. A word of caution, do not hit over the green. Please ring the bell when leaving the hole so approaching players may continue play.
Hole 6
Don’t let the serene setting fool you. Strictly a position hole. Smart players use a 1, 2 , or 3 iron leaving a mid iron to an elevated green gaurded bunkers on the side and woods behind.
Hole 7
Length is not a factor here, but accuracy is. Stretching 28 yards deep, a narrow green falls off on the left and behind. Shots played slightly right of the flag have a habit of kicking left and usually wind up on the putting surface.
Hole 8
Accuracy is necessary all the way from tee to green. Many players select a 3 wood from this tee to ensure position for the second shot. The green slopes toward you and holds well – so don;t be timid on your approach.
Hole 9
Positioning your 1st shot left of center is paramount. Tee shots straying right here have a tendency to end up in the drink. The large green appears closer than it actually is, so be sure to select enough club on your second shot.
Hole 10
Swing freely on this wide fairway and leave yourself a short iron second shot. Confidence is needed on your approach as there is a monstrous bunker right of the green and woods and a bunker to the left.
Hole 11
Stategic play will reward the golfer here. A good drive to the right side of the landing area and then an iron over the tree line will align the player for a short pitch to the green.
Hole 12
Appropriately dubbed “Boot Hill”, due to the numerous rounds that have met their demise here. The ideal tee ball is over the right corner of a rather large fairway bunker, slightly right of it, which leaves you a bit longer approach. The second shot must be executed with deadly aim in order that the ravines on each side of the fairway are avoided. Be sure you don’t under club, very few poeple are over htis green in two.
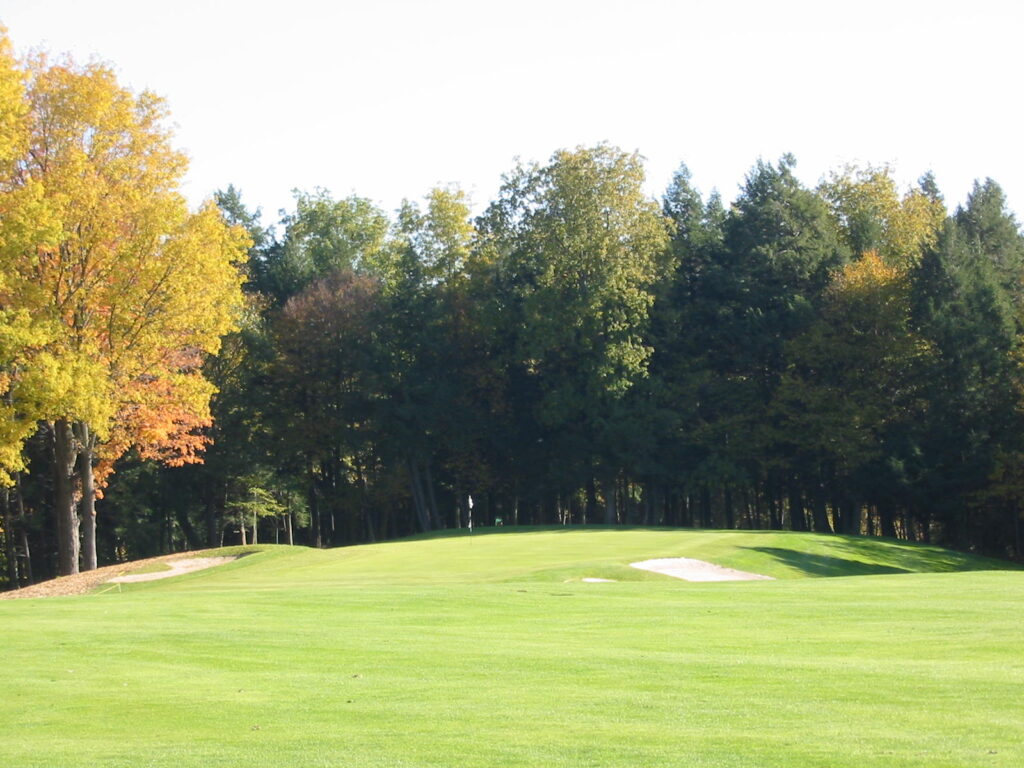
Hole 13
A wooded are provides a picturesque setting for this par 3. Missing the green on the right is a no-no, for you will be faced with a most difficult pitch shot. This enormous green is often 3 putted.

Hole 14
Trying to straighten out the Dog Leg on this hole usually ends up disastrous. The right is guarded by an inviting fairway bunker and the fairway slopes right, towards large trees. Left of center is the place to drive the ball and you have a much better angle to go into the green from.
Hole 15
Scottish architecture abounds in the rolling terrain of this lovely hole. Don’t be mesmerized by its beauty, this is a difficult hole. Take extra consideration of your lie on your second shot, it will affect your club selection drastically.
Hole 16
Don’t be long on this hole, you are better off short to have a chance at par. There are bunkerson both sides gaurding the green, accuracy is a must.
Hole 17
Be sure your shoes are tied tight before attempting to let out the shaft. This brute has very little trouble, but often you must contend with a stiff west wind. Many players can’t get home in two but find positioning the second shot left of center makes a par more easily negotiable after a successful chip.
Hole 18
Ordinarily down wind, this is the longest par 5. Favoring the left side of the fairway shortens the hole a great degree. be aware that also white stakes mark out of bounds on the left. A strategically bunkered green will test your 3rd shot. Be sure to get that 3rd shot back to the pin for an easy putt.